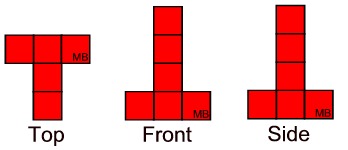
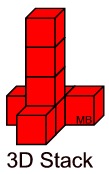
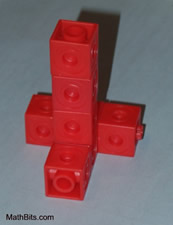
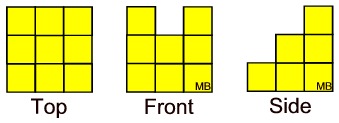
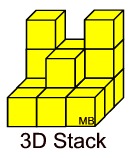
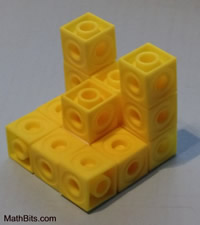
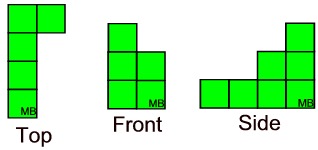
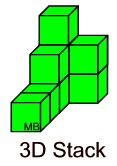
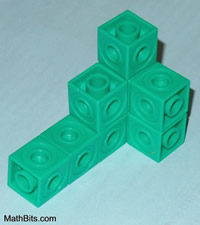
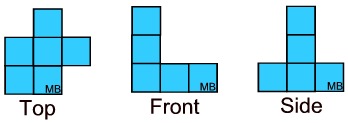
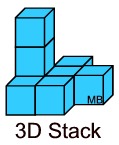
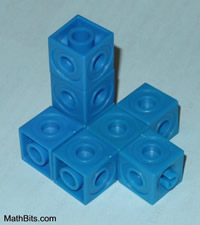
Orthographic projection can be thought of as a communication tool between engineers and builders. These projections are representative blueprints of a three dimensional shape and allow for accurate measurements to be maintained. Professions in design and construction use these drawings, including architects, engineers, technical artists, illustrators, graphic designers, machinists, programmers, carpenters, masons, electricians, and even cartographers (map builders). Let's take a look at some orthographic projections of
An orthographic view represents the exact shape of an object seen from one side at a time as you look perpendicularly at the object (without showing depth of the object). An object is usually depicted by three orthographic views: top, front, and right side.
Topical Outline | JrMath Outline | MathBitsNotebook.com | MathBits' Teacher Resources
|
